Balloon Flower (Platycodon grandiflorus)


on Thursday, June, 10 2010 @ 09:33:33 pm (206 words)
In General [ 9516 views ]

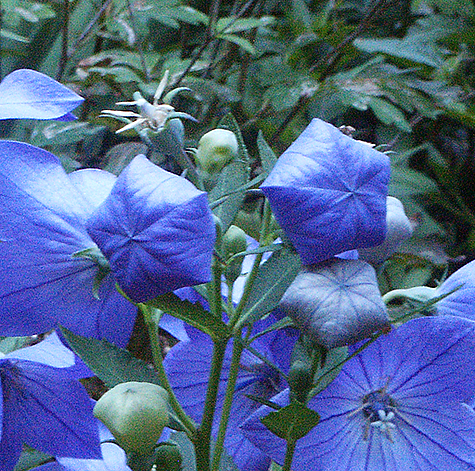
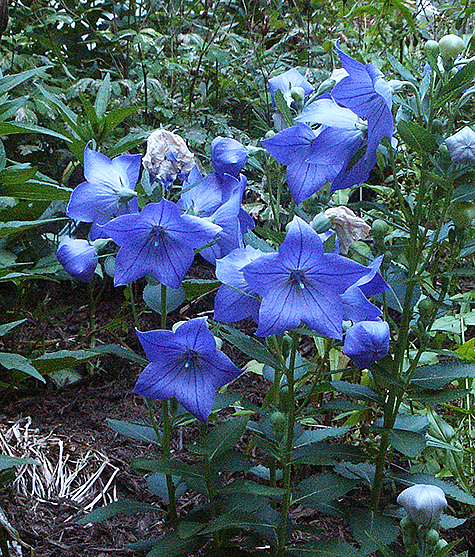
My balloon flower (Platycodon grandiflorus) is blooming! I love this little flower and it is one of my favourites in the gardens. Balloon flowers are perennials so once you plant them, you will be rewarded year after year with their beautiful flowers. A plus with balloon flowers is they require very little in the way of care; just water when the season is dry and apply a bit of slow release fertiliser in early spring. Balloon flowers are hardy zones 3 to 8.

Balloon Flower (Platycodon grandiflorus)
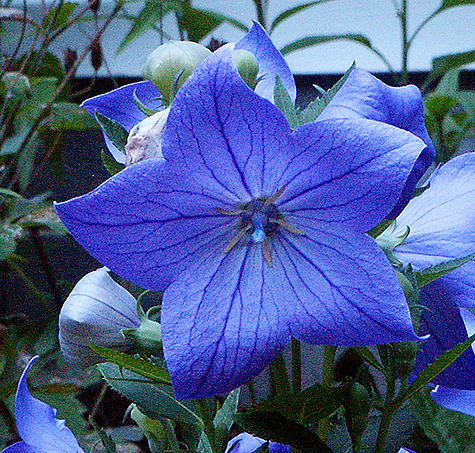
Balloon Flower (Platycodon grandiflorus) Close
Close of the balloons

The name balloon flower comes from the little balloon shape of the unopened flowers as you can see in the last photograph above. Balloon flowers are clump-forming perennials reaching a height between 30.5 cm to 90.5 cm (1-3 ft). Balloon flowers are slow to show above ground and one needs to be careful to remember where they are planted so one does not accidentally disturb them when adding to the flower beds. Plant in an area with moist well drain soil in full sun or partial shade. Balloon flowers are long blooming; just remove any spent flowers to help encourage new blooms. If you don't like the blue balloon flowers, there are also white and pink varieties.


Building a Bog for Irises and Spider Lilies


on Monday, May, 31 2010 @ 01:51:05 pm (519 words)
In General [ 12273 views ]

A friend offered to send me some irises to include in my gardens. However, these were not the bearded irises that I currently grow. Of the varieties sent to me, two were Rocky Mountain Iris (Iris missouriensis) and Yellow Flag (Iris pseudacorus) which require a very wet area to grow. Unfortunately, I have no streams or wet areas on my property to grow the irises sent to me. Therefore, I decided I would create a bog that I could keep wet so I would be able to grow these irises. Along with the irises were some spider lily bulbs that also need to grow in a wet area. Spider lilies are actually not lilies but a member of the Amaryllidaceae family.

To create the bog I dug a trench at a depth of around 30 cm (1 ft) since the spider lilies need to be planted at a depth of 13 cm (5 in) below the soil level. Once I had the trench created, I lined it with polyethylene plastic sheeting that will help to hold the water in place and filled it with new soil since my soil is heavy clay.
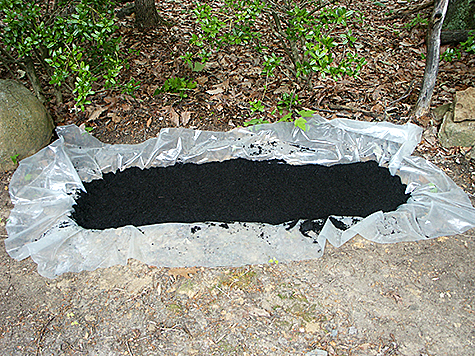
The bog filled with soil

Once I had the bed filled, I planted the irises and the spider lilies. These irises are planted differently from breaded irises as they have a different root structure. Unlike breaded irises, the entire root structure up to the crown is planted below the surface.
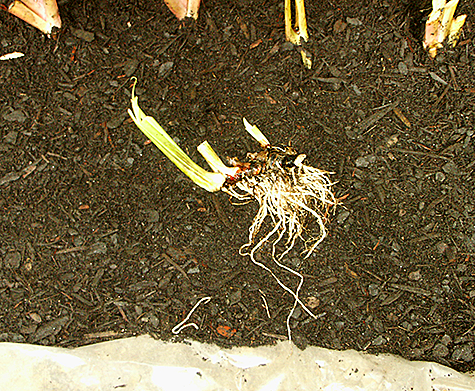
Iris root structure
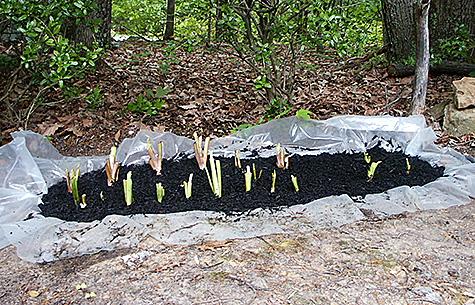
The bed planted but without border
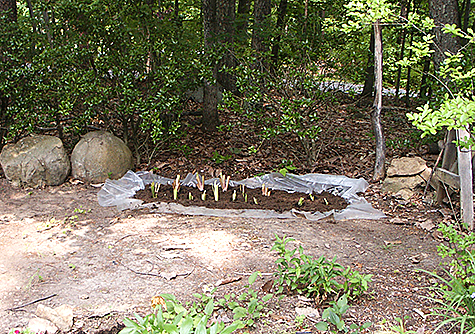
A far shot of the bog, it is located at the side garden.

Once I had the bed planted, the next step was to build the border around the bed. As my readers will know, I like to build my borders with the natural stone from the property. I decided I wanted a low border for this bed and used flat stones that would give a low profile border around the bed. I left the plastic sheeting around the edge of the bed and placed the stones on top of the plastic sheeting to help with water flow into my little bog. I trimmed the plastic sheeting as needed and then burred it so it would not be seen. After I finished building the bog, I decided to finished the border around the little side garden. There are a few other things to do in the little side garden and I will be sharing photos of the completed side garden later. The last photograph below is a far shot that shows part of the side garden as well as the new iris bog.
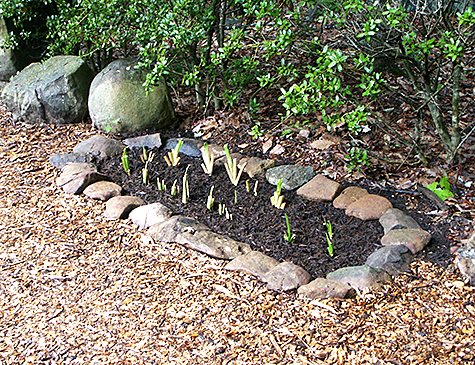
The finished bog with border in place
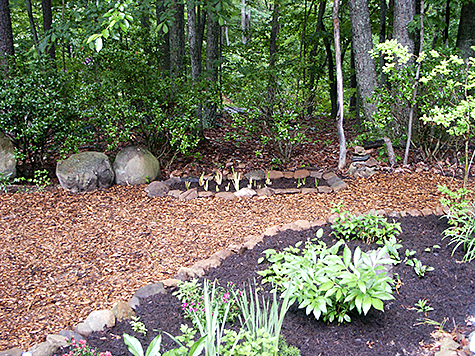
A far shot of the iris bog with part of side garden in foreground
With a bit of luck, my new iris bog will be a success and I will be rewarded with some different iris blooms from the breaded irises that I now grow. I am also hoping that the spider lilies will survive as I have wanted to add these to my gardens. If my iris bog is a failure, then I will just convert it later to something different.
Kimberly's Strange Contraption


on Thursday, May, 27 2010 @ 11:16:44 pm (365 words)
In General [ 2922 views ]

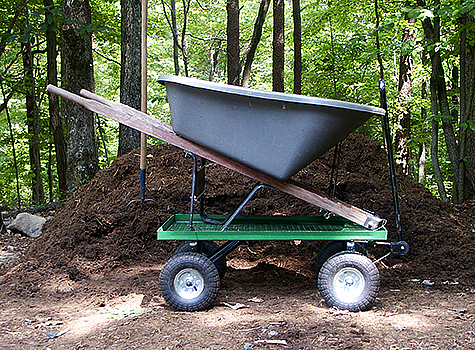
It may look strange, but it got the job done.

You may be wondering about the strange contraption in the photograph above. It came about in this manner; this morning I went out to work in the gardens. I loaded my wheelbarrow full of mulch and when I started to push it to the back garden, it did not want to roll as it should. I asked the question, "Is the tyre flat?" Upon examination I did indeed have a flat tyre. I got out my hand pump but found that as soon as I inflated the tyre, it went flat again; I found a thumb tack embedded in the tyre. Yes, a mere thumb tack was all that was needed to render my wheelbarrow useless.

Of course I did not have a tube repair kit and hated the idea that I would have to go to all the trouble to get ready to go out to the shops for the sole purpose of a repair kit. As I studied the problem it occurred to me that with the tyre off the wheelbarrow, it would sit on top of my little trolley. Since the tyre had to be removed to repair it in any case, it was worth a try. As you can see, that is what I ended up doing; a bit of wire helped to ensure that the wheelbarrow stayed secured to the trolley. Since the wheelbase on my little trolley is narrow, and the centre of gravity of the wheelbarrow full of mulch was high, I had to be careful not to allow the whole contraption to tilt over. My wheelbarrow/trolley contraption worked and I was able to continue placing mulch down in the gardens for most of the day. I stopped near the evening to tend to my veggie garden.

I have given some thought to building a box that will sit on top of my trolley when I need to transport things that are not contained in some manner. I mainly use the trolley for transporting bags of soil or bags of fertiliser or lime around the gardens. A box for my trolley would allow it to be more multifunctional.