
Building a Bog for Irises and Spider Lilies
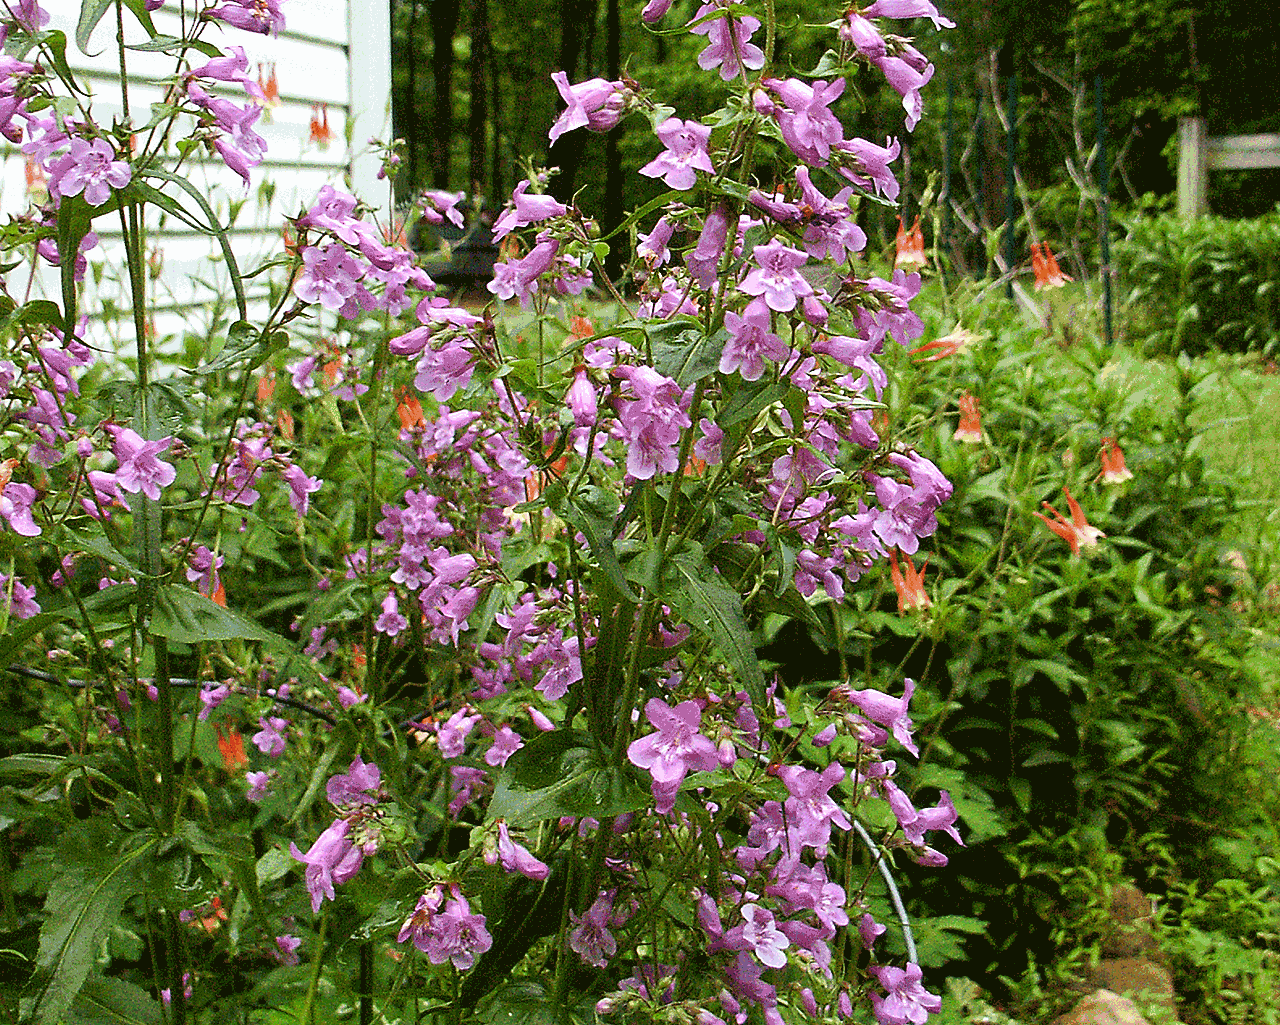
A friend offered to send me some irises to include in my gardens. However, these were not the bearded irises that I currently grow. Of the varieties sent to me, two were Rocky Mountain Iris (Iris missouriensis) and Yellow Flag (Iris pseudacorus) which require a very wet area to grow. Unfortunately, I have no streams or wet areas on my property to grow the irises sent to me. Therefore, I decided I would create a bog that I could keep wet so I would be able to grow these irises. Along with the irises were some spider lily bulbs that also need to grow in a wet area. Spider lilies are actually not lilies but a member of the Amaryllidaceae family.
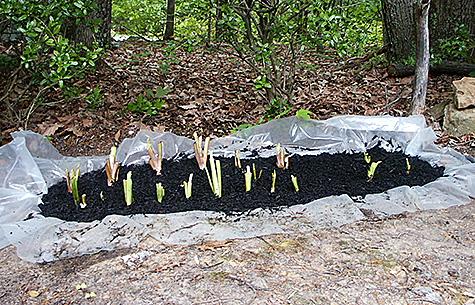
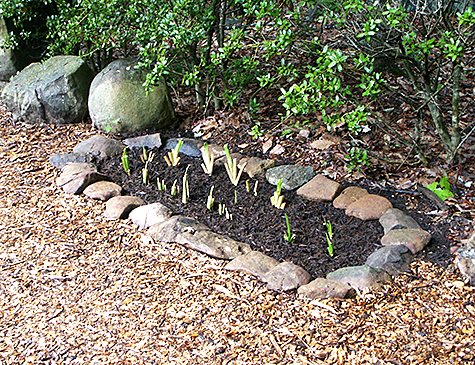
To create the bog I dug a trench at a depth of around 30 cm (1 ft) since the spider lilies need to be planted at a depth of 13 cm (5 in) below the soil level. Once I had the trench created, I lined it with polyethylene plastic sheeting that will help to hold the water in place and filled it with new soil since my soil is heavy clay.

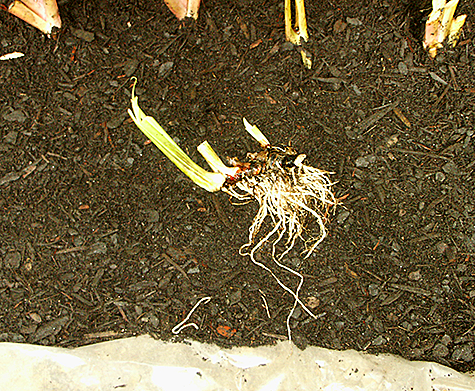
Once I had the bed filled, I planted the irises and the spider lilies. These irises are planted differently from breaded irises as they have a different root structure. Unlike breaded irises, the entire root structure up to the crown is planted below the surface.
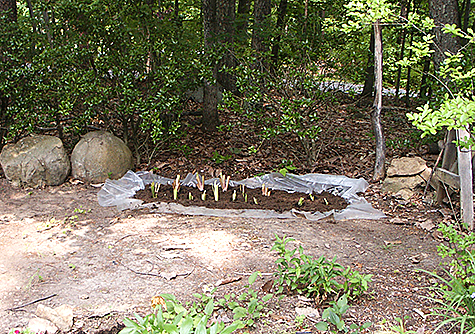
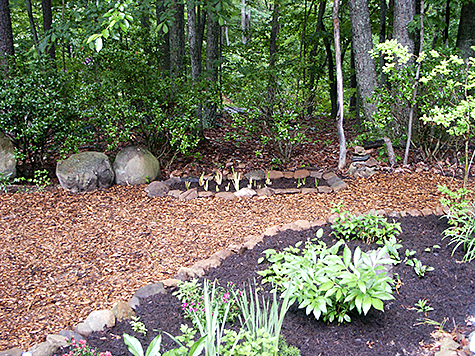
Once I had the bed planted, the next step was to build the border around the bed. As my readers will know, I like to build my borders with the natural stone from the property. I decided I wanted a low border for this bed and used flat stones that would give a low profile border around the bed. I left the plastic sheeting around the edge of the bed and placed the stones on top of the plastic sheeting to help with water flow into my little bog. I trimmed the plastic sheeting as needed and then burred it so it would not be seen. After I finished building the bog, I decided to finished the border around the little side garden. There are a few other things to do in the little side garden and I will be sharing photos of the completed side garden later. The last photograph below is a far shot that shows part of the side garden as well as the new iris bog.
1 comment
 Wishing you the best of success with this interesting project.
 This post has 1 feedback awaiting moderation...