
How To Build A Flower Bed
When I visit a Lowe's Home Improvement centre I always make it a point to visit their garden centre. My first stop in the garden centre is always the clearance tables which have been dubbed by me and my sisters as "the dead table". Of course the plants on the dead table are not dead; however, they are sometimes highly stressed. Often they are simply the remains of stock Lowe's want to quickly get out of the way so they do not have to bother maintaining them. Back in November a visit to the Lowe's garden centre netted several healthy perennials that were part of a large quantity of end of year stock on the dead table. Several people were crowded around the dead table grabbing plants; one lady had her pull cart so full that plants were falling off as she headed to the cash registers. I skipped over things that I already had in my gardens but still ended up with six different plants, a Montauk daisy, a Russian sage, a Vermillion Buffs sage, a Goodness Grows speedwell, a Blue Fortune hyssop, and an unknown variety of verbena as the tag was missing.
I had been considering for some time about building a small flower bed in the rough shape of a triangle at the side entrance to the front garden. The bed would welcome visitors to the front garden and they would be directed either right along the front of the house, or left along the fence. With the new plants I found on the dead table at Lowe's, I decided the time to build the bed had come as I had no other areas in the gardens at the moment to place the plants.
The first stage in constructing a new bed is to determine the shape of the new bed and how large it needs to be. In this case, I already knew I wanted the bed to be in the rough shape of a triangle with a rounded base so I needed to determine the size of the bed to accommodate the plants I had purchased at Lowe's. To determine the size of the bed you have to take into consideration the size of the plants at their mature growth so they do not overly crowd each other. I determine the placement of the bed and spaded the ground around the perimeter so I had a clear visual as to the shape and size of the bed. I place the potted plants where they would be planted, leaving the required space between them, to check the size of the bed.
 Once I had checked the size of the bed, I removed the pots and continued to spade the ground. It is important to loosen the soil that will form the bottom of the bed so you will get proper drainage; this is especially important if your border is going to be tightly fitted. If you fail to do this, you could end up with your plants standing in too much water after a period of heavy rains. Furthermore, if your bed is going to be shallow this will allow the roots to be able to grow downward into the soil much easier and you will have healthier roots which translate into healthier plants.
 If your base soil is loamy and rich in organic material, then you can moved on to building the border. However, if your base soil is clay or sandy, then you will need to mix in some composted organic material. You want to ensure the base soil will not pack over time forming a barrier to water drainage and making it more difficult for proper root growth. Mix the organic material into the base soil with your spade, turning over the soil several times.
 Once the base soil has been properly prepared, it is time to build the border. Your border can be constructed of a variety of materials. If you visit the garden centre of your favourite home improvement shop, you will find a variety of man made stones and blocks as well as timber suitable for building flower bed borders. The idea of the border is to define the flower bed and to form a container to hold the soil in place. The material I used for my border was stones found on the property. I like using these natural stones to form my borders; each stone is unique, and the cost of the material is free. All I have to do is to expend the energy to carry them from the property to the gardens; although it was not an easy task as these stones are heavy.
 Once you have your border built, it is time to fill the flower bed. We will use maths to determine how much soil is needed to fill the bed. The volume of the flower bed is calculated by multiplying the depth of the bed times the area of the base of the bed. In my case, the shape of the bed was a rough triangle with a rounded base which would be the area of a triangle plus the area of a chord. Since I could see that the volume of the chord was going to be insignificant to the rest of the volume, I did not bother with that calculation; It was evident that a couple of bags of soil would fill the area. If you are building a small bed, then buying the soil at a garden centre in bags that you can easily transport is perfectly fine. However, if you are building a large bed, or several beds, you may want to have your soil truck into your site. My local garden centre sells soil in 28 litre (1 cubic foot) bags; therefore, I would convert the volume of the flower bed into bags of soil so I would know how many bags of soil to purchase.
 I place the bag of soil in the bed and use the spade to cut down the length of the bag. I then flip the bag over and dump out the soil, folding the bag along the cut to finish shaking out the soil left in the corners of the bag. Once you have several bags of the soil dumped into the bed, use a garden rake to spread the soil evenly around the bed. Add more bags of soil and spread evenly around the bed; repeat until you have filled the bed to the proper level.
 Once you have the bed filled and the soil spread evenly around the bed, it is time to remove the plants from their pots and plant them in their new home. You will probably find that the roots have grown out and around the inside of the pots. You want to carefully loosen these roots and spread them out without damaging or breaking too many of them. Scoop out enough of the soil in the bed to place the plant into the soil keeping the original depth of the plant level with the surface of the bed; you don't want to plant deeper, or shallower, than the plant was in the container soil. Once you have planted all of the plants for the flower bed, you want to water each plant. This will help to settle the soil around the roots as well as giving them a drink.
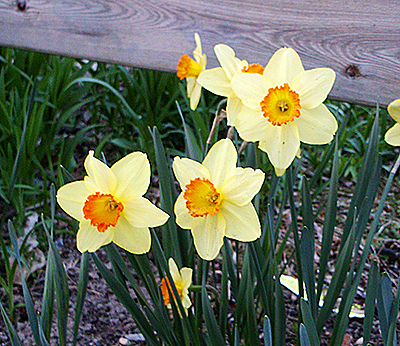
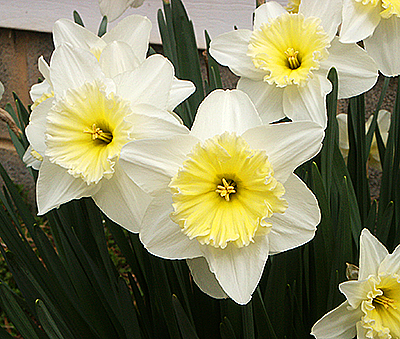
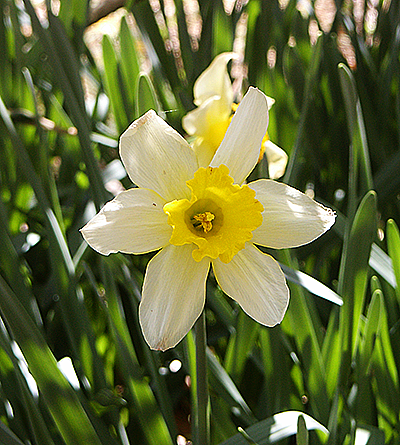
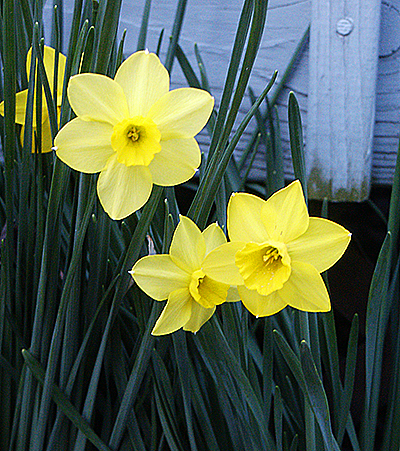
 I was quite pleased with how the flower bed turned out. One of the local shops had tulips in various colours, six bulbs to a bag at $1.50 per bag. I brought a bag of red, a bag of yellow, and a bag of a dark midnight blue. I planted the tulip bulbs in and around the plants. The tulips are spring blooming and will be up and blooming before the other plants in the bed. By the time the tulips have stopped blooming, the other flowering plants will be up to take over for summer blooms.
Checking the size of the new bed.
Base soil spaded.
Base soil mixed with organic material.
The natural stone border in place.
Soil dumped into flower bed.
Filled bed ready for planting.
Finished bed with plants in place.